Exciting news! Our ConnectBooster Support documentation is moving to a new location. Be sure to bookmark the new link below.
Display quotes inside of ConnectBooster
This document details out the steps needed so your customers will be able to view Quotes, directly from within the customer facing portal!
The prepared quote document will only display for open Opportunities inside of ConnectWise, and if a URL linking to the document exists. If the URL is blank or missing, the custom can still view the open Opportunity name as before. This feature is a convenient way for customers to view proposal documents in the billing portal, vs. typically searching an email inbox.
The setup is broken down into three parts, for each system in the recommended order.
Please select the correct corresponding document for the quoting vendor software for "part 2".
Part 1: ConnectWise Manage Custom Field Setup
These steps will detail out how to create a Custom Field on the Opportunity # pod. If you already have one generated, you may be able to skip this step.
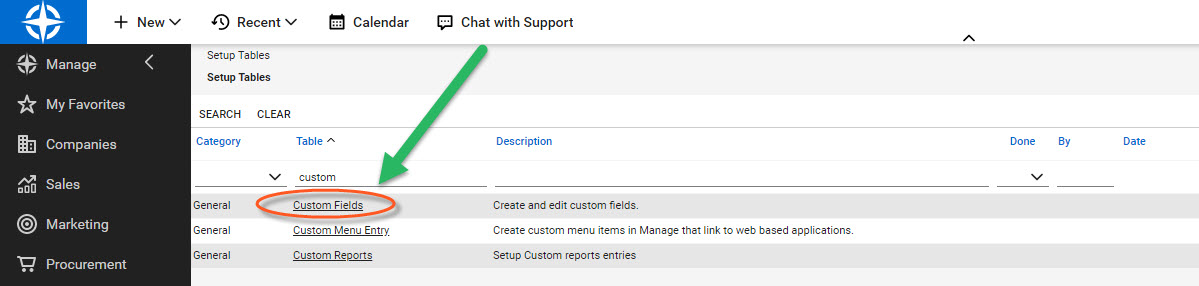
Navigate to System + Setup Tables. Search for the "Custom Fields" Table.
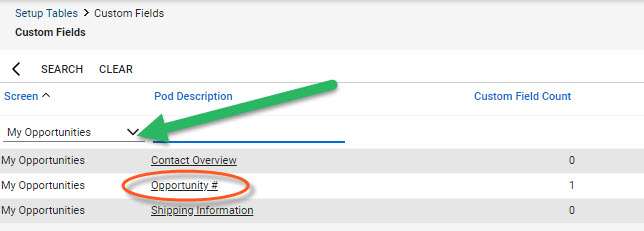
Reduce the options by selecting the "My Opportunities" Screen.
Select the "Opportunity #".
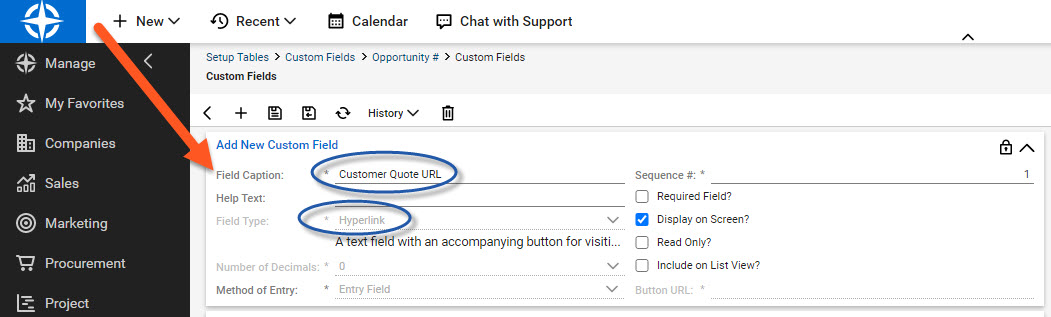
Click the "+" to make a new Custom Field.

Label the Field Caption as desired, and set the Field Type to Hyperlink.
Note: you will later need to copy this Field Caption name exactly as appeared into your ConnectBooster.
Save your changes.
In the example below, take note of where this new Custom Field displays on the Opportunity.

NOTE: Population of this field will only happen automatically on newly created opportunities. If you wish to populate historic opportunities you would have to do so manually.
Part 2: Quoting Software Mapping
In order to have the URL automatically injected when a Quote is published (as shown above), you will now need to map your quoting software to use this new Custom Field.
This typically means after a quote has been published/delivered, with a customer facing URL. The goal is to get this URL assigned to your newly created "custom field", in ConnectWise Manage.
Proceed to the relevant setup document first, before continuing to Part 3.
Part 3: ConnectBooster Setup
Map the Field in ConnectBooster
Navigate to Settings + Integrations. Select ConnectWise.
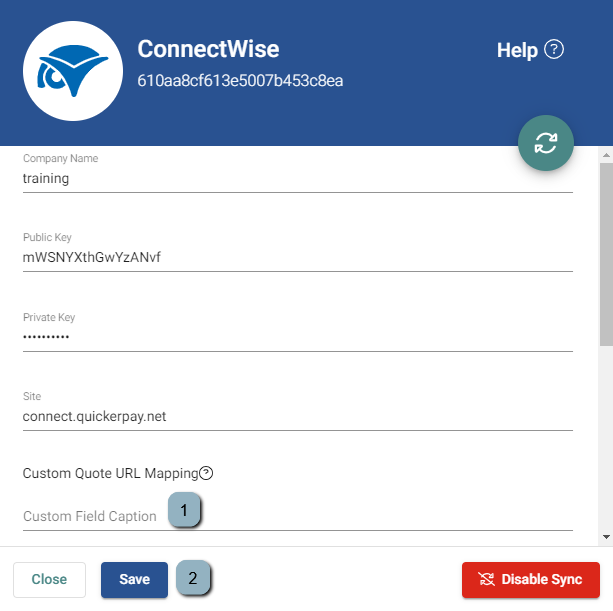
1. Enter the name of the Custom Field generated in Part 1
2. Save Changes
Conclusion:
On the Client Portal, under Service + Quotes, select an open Opportunity.
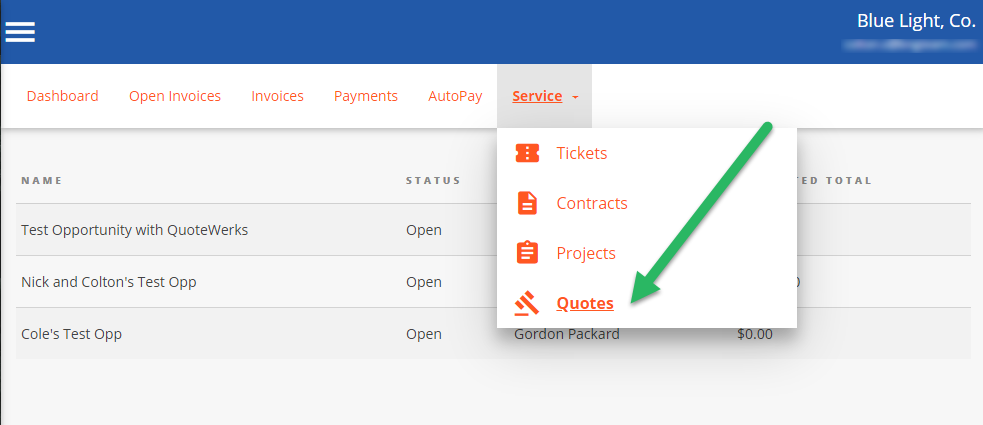
The "Open Quote" button now displays.
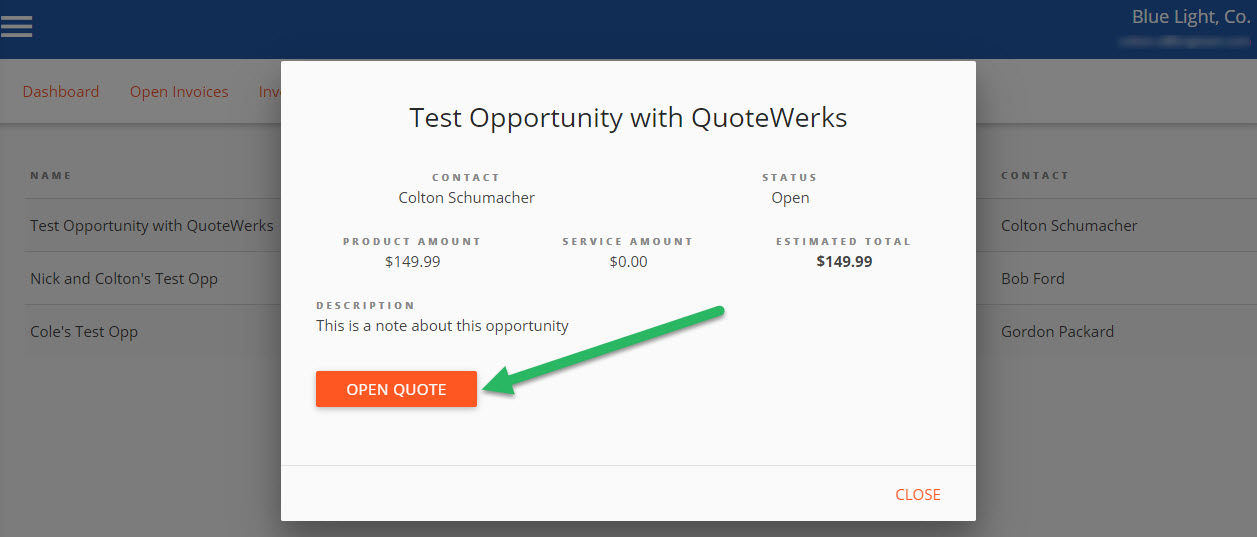
That's it! When the client selects the "Open Quote" option, a new browser tab will open to display the Quote acceptance page.
Note: if your client's report missing the "Service" section, you may need to enable the permission to view "Quotes". This can be found under Settings + Configurations + Client Profiles