Exciting news! Our ConnectBooster Support documentation is moving to a new location. Be sure to bookmark the new link below.
Follow the steps below to leverage ConnectBooster client functionality directly inside of the Manage Customer Portal. This allows for seamless service and billing functions for your organizations as a one-stop-shop approach!
Within your ConnectBooster Portal, navigate to Configurations --> Client Users.

In the Single Sign-On section: tick the enable box, select "ConnectWise Portal" and save.
On the Manage Customer Portal Administration side, select the payments icon and the "Link your ConnectBooster account" option.
The ConnectWise University document on how to deploy that Customer Portal can be found HERE.

Enter and save your full ConnectBooster portal URL:
https://portalsubdomain.connectboosterportal.com
NOTE: Please ensure to not include a "/" at the end of the URL.

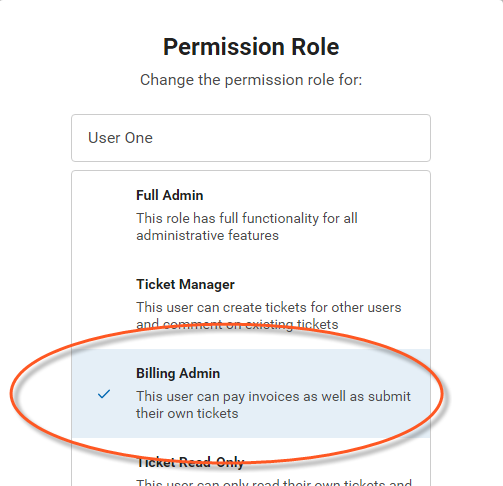
Lastly, ensure permissions for appropriate organizations are set to "Billing Admin".
That's it!
Troubleshooting:
Below are a few common reasons for the SSO functionality to fail.
1. The contact and email address needs to exist in Manage and have sync'd with a organization record within your ConnectBooster portal.
- Please make sure this email is NOT also associated with an Internal User in ConnectBooster.
2. The ConnectBooster contact record can NOT be "Revoke Access".
- Ex. set the Profile as "Admin" in ConnectBooster.
- Note: this can be done via bulk update for all default Bill To contacts!
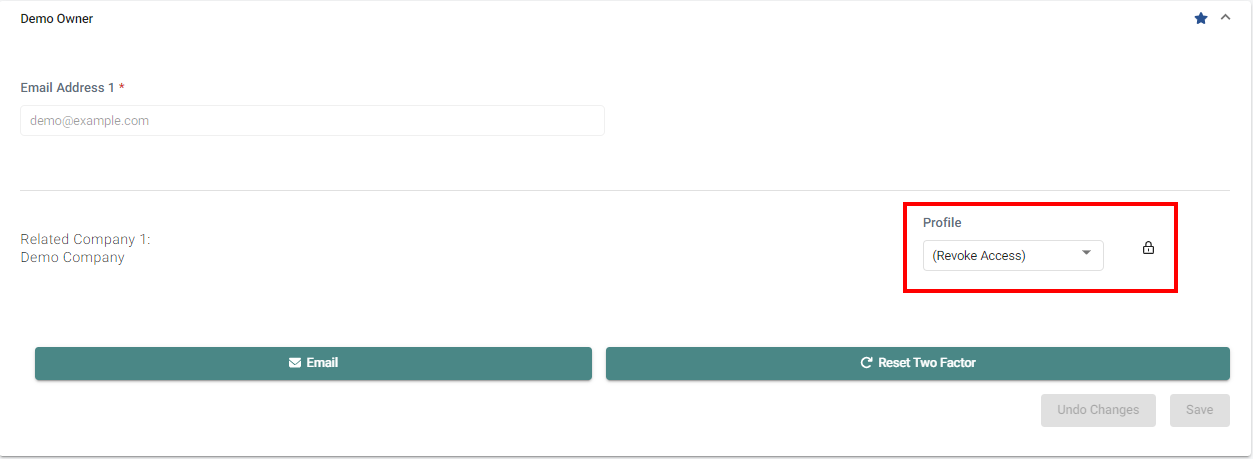
3. If a client reports they are only seeing a login screen and no invoices, double-check that the contact record exists inside of ConnectBooster.
- Also ensure this is not at the default "Revoke Access" level.