Exciting news! Our ConnectBooster Support documentation is moving to a new location. Be sure to bookmark the new link below.
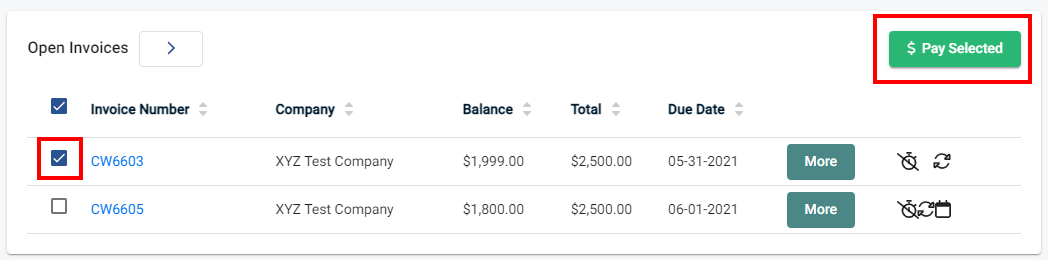
When you are viewing Organization Details, you have the ability to make payments towards open invoices on behalf of your organizations. Scrolling to Open Invoices, you can select the invoice(s) you wish to pay and then choose "PAY SELECTED".
- The
 dictates this invoice is past due.
 - The
 indicates a scheduled payment.
 - The
 indicates that invoice is tied to an autopay rule for that organization.
 dictates this invoice is past due.
  indicates a scheduled payment.
 indicates that invoice is tied to an autopay rule for that organization.
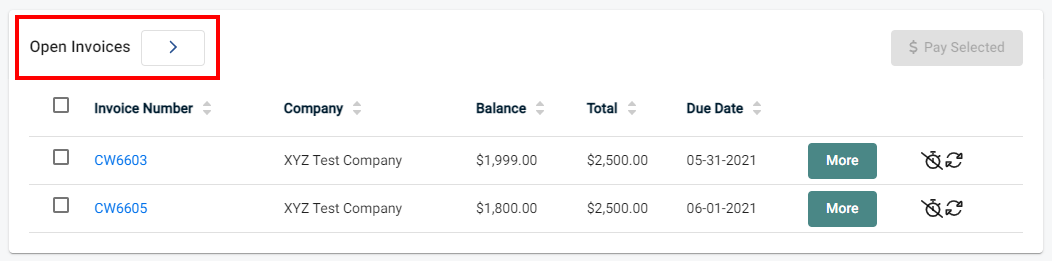
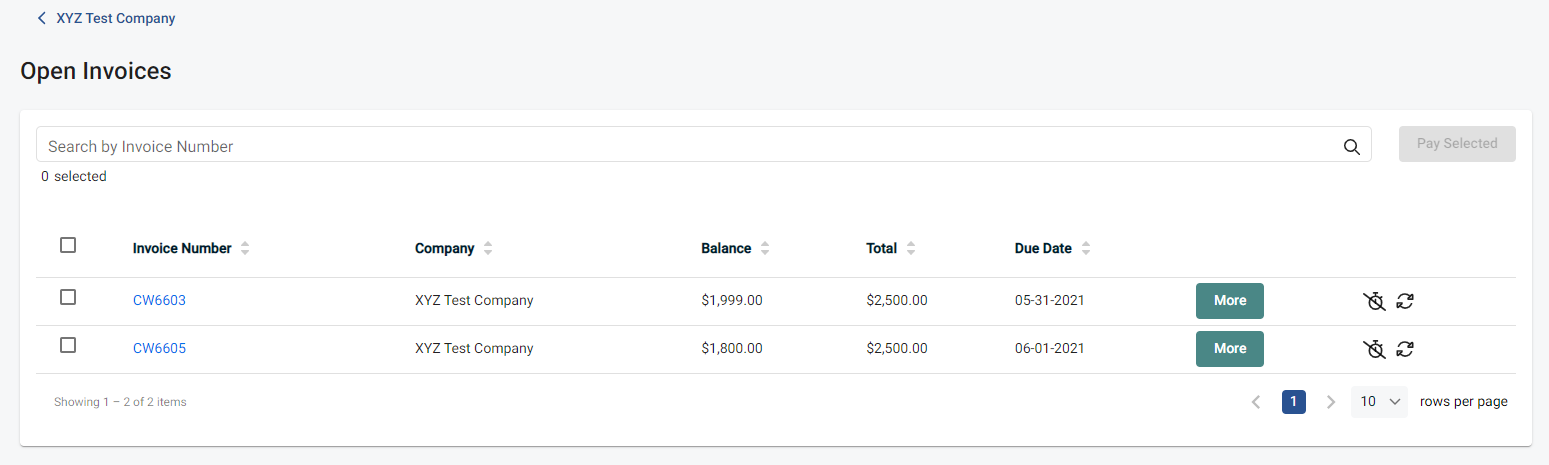
Clicking on "Open Invoices" will bring you to the dedicated Open Invoices page. This is useful when dealing with a larger quantity of invoices. Selecting an invoice will again enable the "PAY SELECTED" button.
Clicking "MORE"  will yield the invoice summary window.
The invoice summary displays additional data about the selected invoice(s) such as the balance remaining, and due date. If any payments are pending, scheduled or set to AutoPay against the invoice they will also be shown here.
From here you may  to pull the exact PDF copy of the invoice from your integrated CRM/PSA or Accounting Package (If QuickBooks Desktop is your preferred invoice version, we will render the invoice image from a globally stored template within the portal).

In the example above, the invoice matches an existing AutoPay rule set up on this specific company.
However ~ we want to make additional payments before then!
- The system will intelligently decide if doing so impacts tentative payments in anyway shape or form. If necessary, adjustments will be made to prevent an overage payment.
Selecting "Pay"  will bring you to the Payment Details page.
The steps needed to finalize the payment:
- Enter the amount (we put in a partial amount of $1,500 for the example)
- Select the payment method to use, or you can add a new payment method by selecting the

- We are making the payment immediately by NOT select the "Schedule Payment" toggle switch
- Select "Next" for the Summary Page


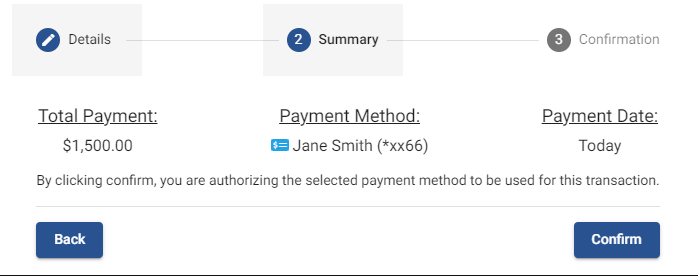
Lastly select "Confirm" and the payment will initiate or schedule appropriately. The payment confirmation window appears, and the automated email receipt sends out.

- Only contacts with eligible profile levels will receive the email.
If a copy of the transaction receipt email is needed, you may add another recipient by selecting  , and then enter in the additional recipient email(s).
